 Warranty Check
 Wisenet Device Manager
 Accessory Mount Selector
 Wisenet WAVE System Calculator
 Wisenet Tools
 Cybersecurity
 Installation Simulator
 Technology Partners
 Learning Center
Applies to: OnCloud
Summary
This article provides instructions for attaching a new license to your OnCloud instance and devices.
NOTE: You must use OnCloud to add a new license. You cannot add or attach a new
license through the Cloud Portal license management interface.
 Attaching a License
To attach a license:
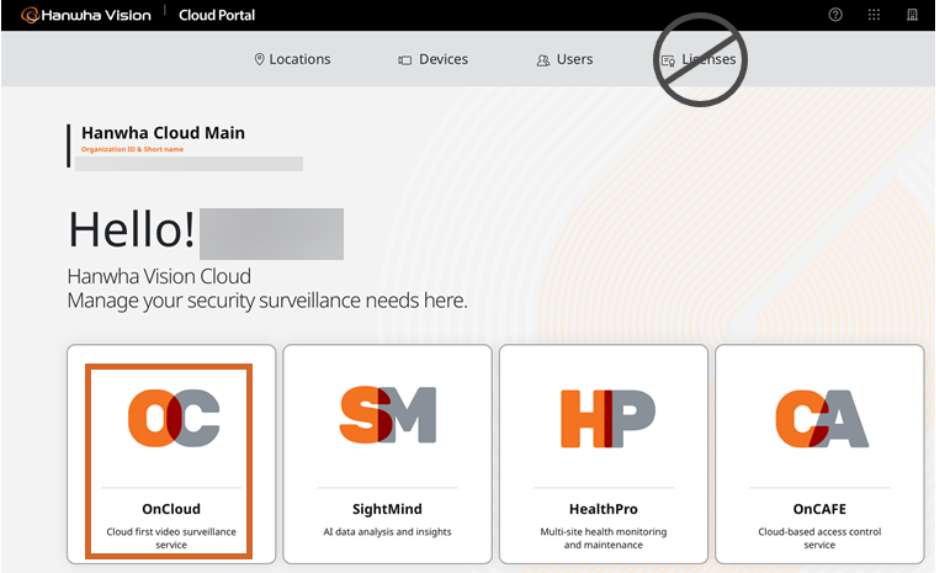
- Log in to Cloud Portal.
- Navigate to OnCloud.
- Click the Building icon at the top right to start your dashboard.
NOTE: If you do not see this icon, you do not have permission to view the dashboard. - In the Licenses section, click Manage.
- Click Add Licenses in the top right.
- Enter the order number that you received via email and click Continue or click Enter Licenses Manually if you only wish to add some of the licenses from that order.
- Enter the code that was sent to the email address provided at the time of the order, then click Confirm.
When licenses are added, they appear in your list of licenses.